Go farther, faster and quieter for elk with a little know-how and some chain oil.
Since some of my camp partners and I started hunting from mountain bikes in 2000, we have killed our fair share of elk. Our motivation for using bikes came from Weyerhaeuser Company’s decision in 2000 to lock the gates on some of their logging roads in southwest Washington during hunting season, restricting those roads to non-motorized travel only.
The bikes allow us to cover more country faster than walking, plus game retrieval is many times a downhill cruise. That first year, we were the only hunters riding bikes opening weekend. Since then, we’ve seen many others use bikes in our area, but few stay the course every day of the season.
Get in Shape
A number of things can make hunting from bikes successful and downright fun. To start, get in shape. We see hunters bring a bike on opening morning, ride it for a few hours, take it back to the pickup and not ride it the rest of the season, because their leg and butt muscles hurt so much.
Pedaling a bike uphill, even a slight uphill, can quickly raise heart rates and make out-of-shape muscles sore. On steeper hills, pushing the loaded bike gives an ample workout. Sitting on a seat, even downhill, can be a pain all its own. I’ve always worked at staying in some kind of shape, and once I started mountain biking for elk I had even more reason. I ride a quality exercise bike at home for 25 minutes every other day year-round and use a heart rate monitor to get my heart into the target heart zone: 110-125 beats per minute for a 61-year old guy.
Two-Wheel Stalking
The two bike tires have less contact with the ground than two boots and tend to be quieter. But keep your bike chain well-adjusted and well-lubed, as nothing seems louder than a clanky chain.
It only took me a day of biking to learn that ATV handlebar mounts don’t work well on bikes. Neither does carrying the gun slung across your shoulder. Both methods make the bike unbalanced and can cause damage to rifle, scope or you when you fall. Some packs now feature specially designed systems to hold rifle and bow. Just make sure they don’t smack you in the head as you ride over bumps. We now use a padded canvas or leather rifle scabbard, like hunters use on horses, and attach it to the handlebar post and frame below the seat to keep the rifle out of the way but easy to access when getting off the bike. And we never ride with a round in the chamber.
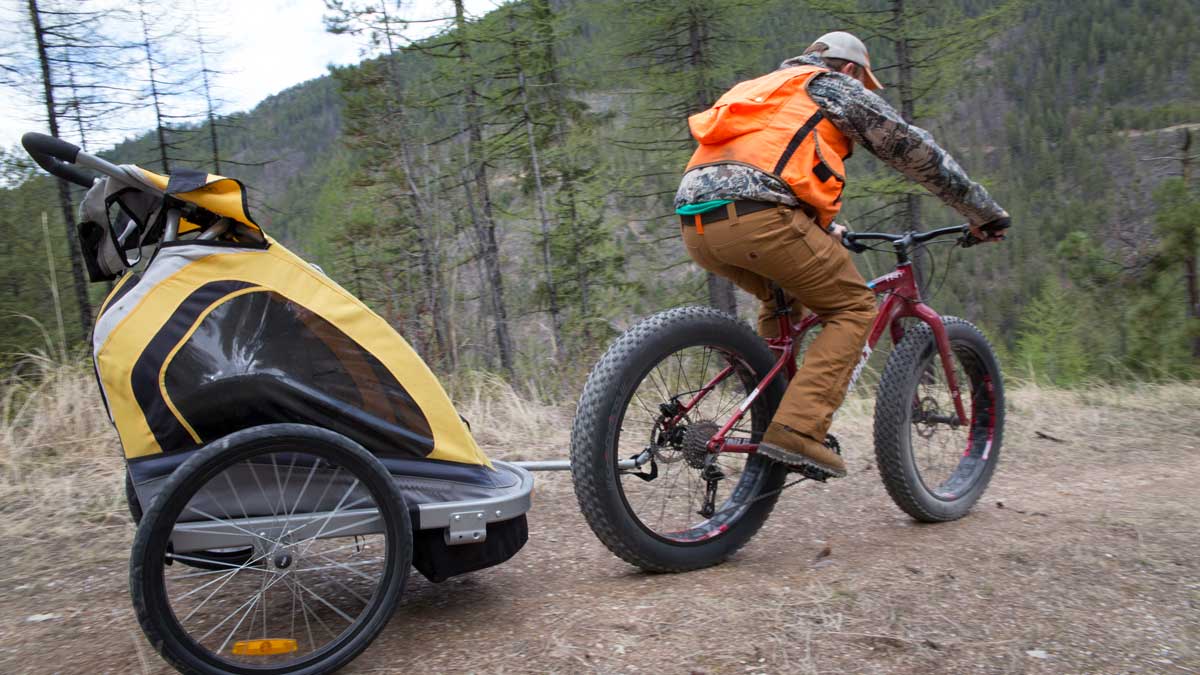
Bikes these days come with both front and rear suspension. I opt for only the front, as the “hard tail” allows me to attach a luggage rack to the rear seat post and clamp to the lower frame. I snap on a set of panniers that hold my hunting gear—extra clothes, knives, saw, rope, food, space blanket, etc. I still carry a backpack, but heavy items go into the panniers to help evenly distribute the weight. The panniers also double as a place to carry a couple of quarters. I added a good seat post that flexes up and down, and an orthopedic-designed seat to make the ride a little more comfortable.
Don’t Leave Home Without Them
Always carry a working tire pump! Once I got a flat tire, and when I went to repair it, I found a broken pump. I changed tubes to ones containing “slime,” a leak-sealing agent, and installed a liner between the tire and the tube to prevent punctures. I haven’t had a leak since, but I still carry a lightweight pump, a CO2 inflator, and a patch kit.
Good hubs and tires will keep you moving, proper brakes will limit your run-ins with local flora. I like disc brakes, rather than calipers. They don’t take nearly the effort on steep downhills, adjust with a simple twist of a knob, don’t get hot and fade, and don’t make as much noise.
I mentioned toe clips at the beginning. Toe clips are straps designed to provide more power pedaling uphill, allowing me to push forward and lift with one foot while the other is pushing down on each stroke. The key is to remember to pull the boot backward out of the clip before putting the foot down on the ground. It won’t come out sideways, and if you try, you’ll fall. Adding big pedals with serrations allow muddy boots to grab easily. A modification to make getting in and out of the pedals easier is to leave the fabric strap that surrounds the boot off the toe clips. You gain a good portion of the power but don’t have to worry about getting the boot out of the pedal.
An alternative to toe-clips is the clipless pedal, which provides even more pedaling efficiency, as the sole of your shoe is actually connected to the pedal. It takes some practice stepping into and twisting out of this pedal, but to maximize your pedal power this is the way to go. There is a drawback to that efficiency. Hunting boots aren’t adaptable to these pedals. In other words, you’re packing your boots with you, plus you can’t just ditch that bike to chase down an elk without changing shoes first. It would be best to try out both types of pedals and see which one best suits your hunting needs.
Most bike hunters I see don’t wear helmets. Always wear a helmet! Sooner or later, you’re probably going to crash. A head injury behind a locked gate or on a trail can quickly become serious. I painted an old bike helmet with camo paint to eliminate the reflection and carry my cap in the panniers, changing it when I get off the bike.
There’s nothing quite like the excitement of riding a bike hunting. It’s faster than walking, faster than a horse on flat or downhill grades, and you don’t have to feed it or take care of it between hunting seasons. You get there quietly. You can take more with you. You can use it as a game carrier. And you get some really good exercise. And it’s good fun.
The rewards can be great—in our camp that means a fair share of public-lands elk nearly every year. Don’t let the locked gates or trails stop you if you have the will to get in shape, equip a plain-old mountain bike, and get pedaling—your next elk may be just around the corner.